Partner feature
9 min read
Photography of Neon Nights: Visual Stories of Casino Districts
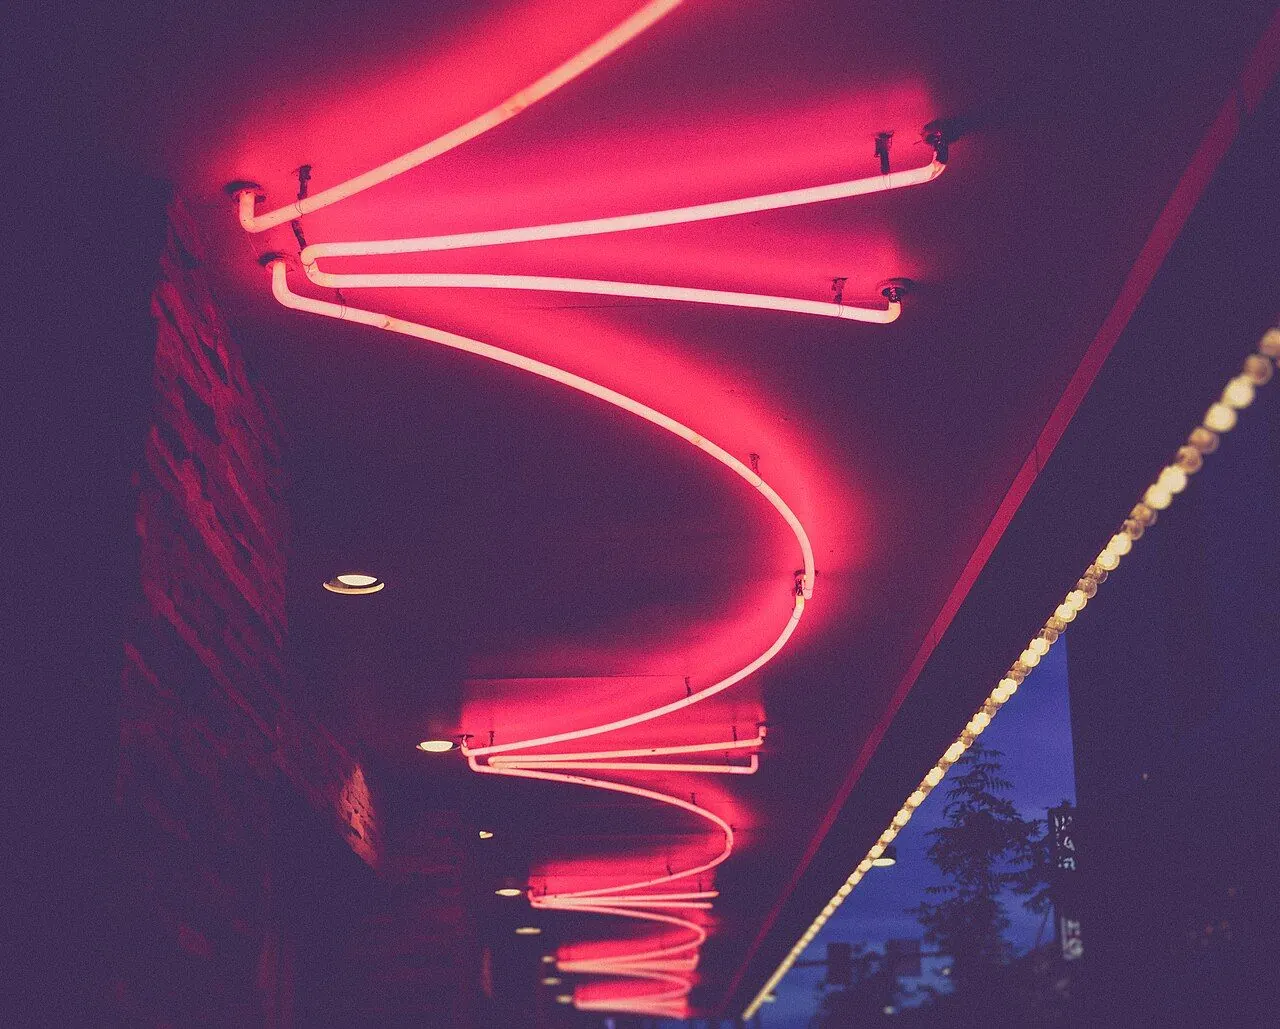
Photo: NeONBRAND neonbrand / Wikimedia Commons, CC0. Illustrative image.

Partner feature. This article was supplied by a partner and published on doo-nanny.com. It sits outside the editorial sections of the magazine. About partner content.
Neon nights feel like a movie. Lights glow. Colors pop. People move fast. Casino streets have a special energy. They are bright, busy, and full of small stories. This guide shows you how to shoot that light, that mood, and those stories in a clear, simple way. You will get gear tips, safe field steps, edit tricks, and real notes from the street.
Why neon and casino streets pull us in
Neon signs and big LED walls are made to catch the eye. They use strong color and shapes. They reflect in glass, metal, and wet roads. They blink and move. This makes bold frames and rich layers. It also makes hard light. Highlights can blow out. Skin can look odd. Security can watch you. Crowds move fast. This is the fun and the test.
Casino districts also have history and style. Old neon has a warm look. New LED walls are sharp and bright. If you want to learn more about neon’s past, see The Neon Museum in Las Vegas. Their site has great info and images: neonmuseum.org. For a wider view of neon art, check out the Museum of Neon Art: neonmona.org.
Gear and settings that make neon sing
- Camera: A body with clean high ISO and fast focus in low light helps. Most modern mirrorless bodies do fine. Look for in-body image stabilization (IBIS) if you can.
- Lenses: A fast 35mm or 50mm (f/1.4–f/1.8) is great for people and scenes. A 24–70mm f/2.8 is a good all-round lens if you want range.
- Support: Tripods are often not allowed inside or near casino doors. A small wrist strap and good hand-hold skill are safer. A tiny tabletop tripod can help on public sidewalks if rules allow.
Settings to start with (adjust as needed):
- File: RAW. This keeps the most color and detail for edits.
- Mode: Manual or Manual with Auto ISO. This gives you control of motion and depth.
- Aperture: f/1.8 to f/4. Use wide (f/1.8–f/2.2) for a soft background. Stop down (f/4) if you want more of the scene sharp.
- Shutter: 1/125–1/250 for people in motion. Go slower for light trails (1/4 to 1 second) if you can hold steady.
- ISO: 800–6400. Raise it to keep your shutter fast enough. Grain is fine if the moment is strong.
- White balance: Auto is fine. Or set 3000–4000K for a cooler base, then fine-tune in edit.
- Focus: Single point AF on a sharp edge with contrast (like letters). Back-button focus helps. Pre-focus when light is low.
Watch for flicker from LED signs. Some LEDs pulse. This can make banding lines in your photo. Try shutter speeds that match local power. In North America (60Hz), 1/60, 1/120, 1/240 can help. In many other places (50Hz), try 1/50, 1/100, 1/200. For a deeper look, see this piece on LED and cameras: DPReview: Why LED lights look weird on camera.
If you want a refresher on exposure basics, Cambridge in Colour has clear guides: Exposure tutorial.
Field technique: control highlights, color, and story
- Meter for the bright parts: Neon can clip fast. Turn on highlight warnings or zebras if your camera has them. Keep the brightest parts just below clipping.
- Use reflections: Look for puddles, glossy tiles, car doors, and windows. Step side to side to line up layers. Reflections double your light and color.
- Shape the color on faces: Neon can turn skin too green or magenta. Have your subject turn slightly to a softer edge of the sign. Move one step left or right to mix colors better. A dark hoodie or bag can act as “negative fill” to make one side of the face less bright.
- Show motion: Pan with a passing cab at 1/15–1/30. Hold steady. Let the background streak. Or stand still and let crowds blur at 1/4–1s.
- Find micro-stories: Hands on a slot token outside a shop window, a dealer’s silhouette seen from a public sidewalk, a couple under a pink sign, a reflection of dice art in a rain puddle. Small moments feel human.
- Mind your line: Casinos are private property. Public sidewalks are your safe zone. Do not shoot gaming tables, cash desks, or security staff.
Field note: On Fremont Street, I often shoot from the curb, not the center. It keeps me out of the flow, and I can use parked cars for reflections. I also keep my camera strap short so it does not swing.
Ethics, access, and safety
- Be kind: If someone asks not to be in a frame, lower the camera and smile. You can find the next shot in seconds.
- Respect house rules: If security speaks to you, be calm. Say you are a street photographer. Show a sample. Step back to public space if asked.
- Stay aware: Keep your bag small and in front of you. Do not show all your gear. Use a buddy system late at night.
- Tell honest stories: Casino lights are fun to shoot. But gambling can harm some people. If you write about it, add a help link like the National Council on Problem Gambling: NCPG Help.
Location spotlights and shot ideas
Las Vegas
- Fremont Street Experience: The LED canopy throws shifting light. Try a wide lens for the roof, then a 50mm for people under it. Check the rules here: Fremont Street rules.
- The Strip: Use glass fronts for mirror shots. The Bellagio fountains add motion. Blue hour gives balance between sky and signs. For trip ideas and events, see the city site: visitlasvegas.com.
- The Neon Museum: Book a night tour for classic signs and guided light. Info: neonmuseum.org.
Macau
- Cotai Strip: Mega-resorts have huge LED walls. After a quick rain, the streets shine. Shoot low to make the reflections big. City info: Macau Government Tourism Office.
- Old Macau: Warm lamps mix with new signs. Shoot at doorways where light blends. Senado Square has strong patterns.
Atlantic City
- The Boardwalk: Ocean mist adds glow to neon. Try a 35mm for context and a 50mm for portraits. Find official travel info: atlanticcitynj.com.
Plan your route and know venue policies
Before you go, scan venue rules and hours. Many places allow photos on sidewalks, but not at doors or inside gaming areas. I keep a simple bookmark list of casino review resources so I can check how each spot treats guests, lines, and bag checks. Note: some links may be affiliate. I only share tools I use.
Post‑processing: keep the glow, fix the flaws
Work in RAW in a tool like Adobe Lightroom Classic or Capture One. Here is a simple flow that keeps neon rich and faces natural.
- Cull by highlights: Pick frames where bright signs still hold detail. If the sign is pure white with no shape, it is hard to fix.
- Set color base: Pick a camera profile you like. Set white balance on a neutral mid tone if you have one. Then nudge Temp/Tint to taste. Adobe has a good basic flow here: Lightroom Classic workflow.
- Balance contrast: Use Exposure for mid tones, Highlights down a bit, Whites up a touch to keep pop. Use Shadows up a little, but watch color noise.
- HSL/Color Mixer: Pull back magenta and red saturation a little to stop neon from bleeding. Push blue aqua up or down to guide mood. Protect skin with a mask if needed. Guide: HSL basics.
- Curves: Make a soft S-curve for contrast. Lift the very bottom point a tiny bit for a film feel, if you like.
- Local fixes: Brush down hotspots on signs with a small negative Exposure/Highlights. Use a Subject Mask to keep faces natural while the scene stays bold.
- Noise first, grain later: Use noise reduction early. Do not over-smooth faces. Add a small amount of fine grain at the end to bring texture back.
- LED banding fix: If you see lines, try a slightly different crop angle or use a banding fix tool. Some editors and plugins can help. Adobe tips on banding: Fix image issues.
- Export for web: sRGB, long edge ~2048 px, WebP if your site supports it. Learn about WebP here: Google WebP.
Field note: When I edit a face lit by neon, I often make two masks. One for the face (to fix color and reduce contrast). One for the sign (to lower highlights). It keeps the glow but saves skin.
Usage rights, releases, and where you can sell
This part matters. Casino floors and many indoor spaces are private. Logos and brand fronts may need care for ads. Street/editorial use is more flexible. If you aim to license images, read up on model and property releases. The American Society of Media Photographers has helpful guides: ASMP Legal. If you upload to stock, check each library’s rules. Some do not accept casino interiors or brand-heavy shots without releases.
Quick checklist before you head out
- Charge two batteries. Bring one empty card and one spare.
- Pack one fast prime and one zoom. Keep your bag small.
- Set RAW, Manual or M + Auto ISO, single-point AF.
- Start at f/2–f/2.8, 1/160s, Auto ISO cap at 6400.
- Turn on highlight alerts or zebras.
- Clean your front element. Smudges glow under neon.
- Check local rules. Plan a safe route and exit.
- Hold the camera tight. Elbows in. Exhale on the shot.
- Be polite. Stay on public space if asked.
- Back up your photos when you get home.
How to photograph neon at night (fast steps)
- Find a bright sign and a clean foreground.
- Set f/2, 1/160s, Auto ISO, RAW.
- Focus on a sharp edge of the sign or your subject’s eye.
- Check highlight alerts; lower exposure if needed.
- Use reflections or motion for depth.
- Shoot 3–5 frames; change angle and height each time.
FAQs
What settings work best for neon signs at night?
Start with f/2–f/2.8, 1/160s, Auto ISO up to 6400, RAW. Expose for the bright parts, not the shadows. If the sign clips, lower exposure a bit. If people blur too much, raise your shutter to 1/250 and let ISO rise.
How do I avoid odd color on faces under neon?
Turn your subject a little until skin looks more neutral. Move one step to mix colors. In edit, lower magenta/red saturation, then mask the face and nudge Temp/Tint until skin looks real. Use HSL to protect skin tones.
Are tripods allowed in casino areas?
Often no. Many properties ban tripods inside and near doors. On public sidewalks, small support may be fine, but staff can still ask you to move. Check posted rules and be ready to hand-hold. If told to stop, step back to public space.
How do I stop LED banding in my photos?
Match your shutter to local power (50/60Hz) with 1/50–1/60 or their multiples. Try a tiny change in shutter if you still see lines. Some cameras have Anti-flicker settings; turn them on. If banding remains, fix with a local edit in post.
What lenses are best for neon street portraits?
A 35mm f/1.4–f/1.8 puts your subject in the scene. A 50mm gives cleaner background blur. If you want flexibility, a 24–70mm f/2.8 works well. Use wide apertures to keep ISO lower and shutter faster.
Extra resources to go deeper
- The Neon Museum Las Vegas: History and tours
- Museum of Neon Art: Exhibits and classes
- Fremont Street Experience rules: What’s allowed
- Visit Las Vegas: Events and maps
- Macau Government Tourism Office: Visitor info
- Atlantic City tourism: Boardwalk and shows
- DPReview on LED flicker: Understanding LED
- Adobe Lightroom Classic basics: Workflow guide
- Adobe HSL/Color Mixer basics: Color control
- Google on WebP for fast sites: Image format
About the author
I am a night and city photographer. I have shot Las Vegas, Macau, and Atlantic City over the last few years. I teach simple, field-first methods that anyone can use. I update this guide when rules or tools change. Last updated: [add date].
Conclusion
Neon nights reward patience and care. Expose for the glow. Use layers and motion. Be kind and safe. Edit to keep color true and people human. If you have questions or want to share your best neon shot, drop me a note or tag me. Have fun out there, and may your highlights stay clean.